
posted by Custom Coatings, Inc. on October 16th, 2020
How To Prepare For Painting Walls In And On Your Home
Find Out The Best Way To Prep Your Interior And Exterior Walls For Painting
Trying to get paint out of something can be like trying to catch smoke- nearly impossible.
You’ll use all kinds of cleansers backed by your elbow grease to try and get the paint out. Scrubbing, rubbing, and sweating, only to see a slight change. In the end, you’re lucky if you end up with just a slight stain.
You can avoid all of this with the right preparation.
And that’s only part of why prep work is so important. Prep work also makes it so the paint sticks to the wall better. This helps the paint look better and last longer. That’s one less thing to worry about.
It’s no wonder professional painters spend so much time preparing for painting walls.
As pro painters ourselves, clients often ask us how we will prepare their space for painting. This goes for interiors and exteriors. The processes are mostly the same, but there are some differences.
Here is how to prepare for painting walls inside and outside a home:
Exterior Painting Preparation
- Wash walls with water and mild detergent
- Look for and repair any damages
- Scrape off any cracking or peeling paint
- Re-caulk any areas in need of it
- Tape off and cover windows, doors, and other areas
- Protect plants with drop cloths
- Prime any spots that need it
Then the painting begins!
Knowing how to clean painted walls properly is a must. Washing the walls preps the surface for the new paint. Dirt, dust, mold, and such gets between the paint and the wall. This results in the paint peeling and cracking more quickly. Then you have to paint your walls, again.
The same goes for any areas with damage. They need fixing or the end result won’t look as good and it can peel more quickly. Re-caulking protects your home as well, mostly from water damage.
Interior Painting Preparation Steps
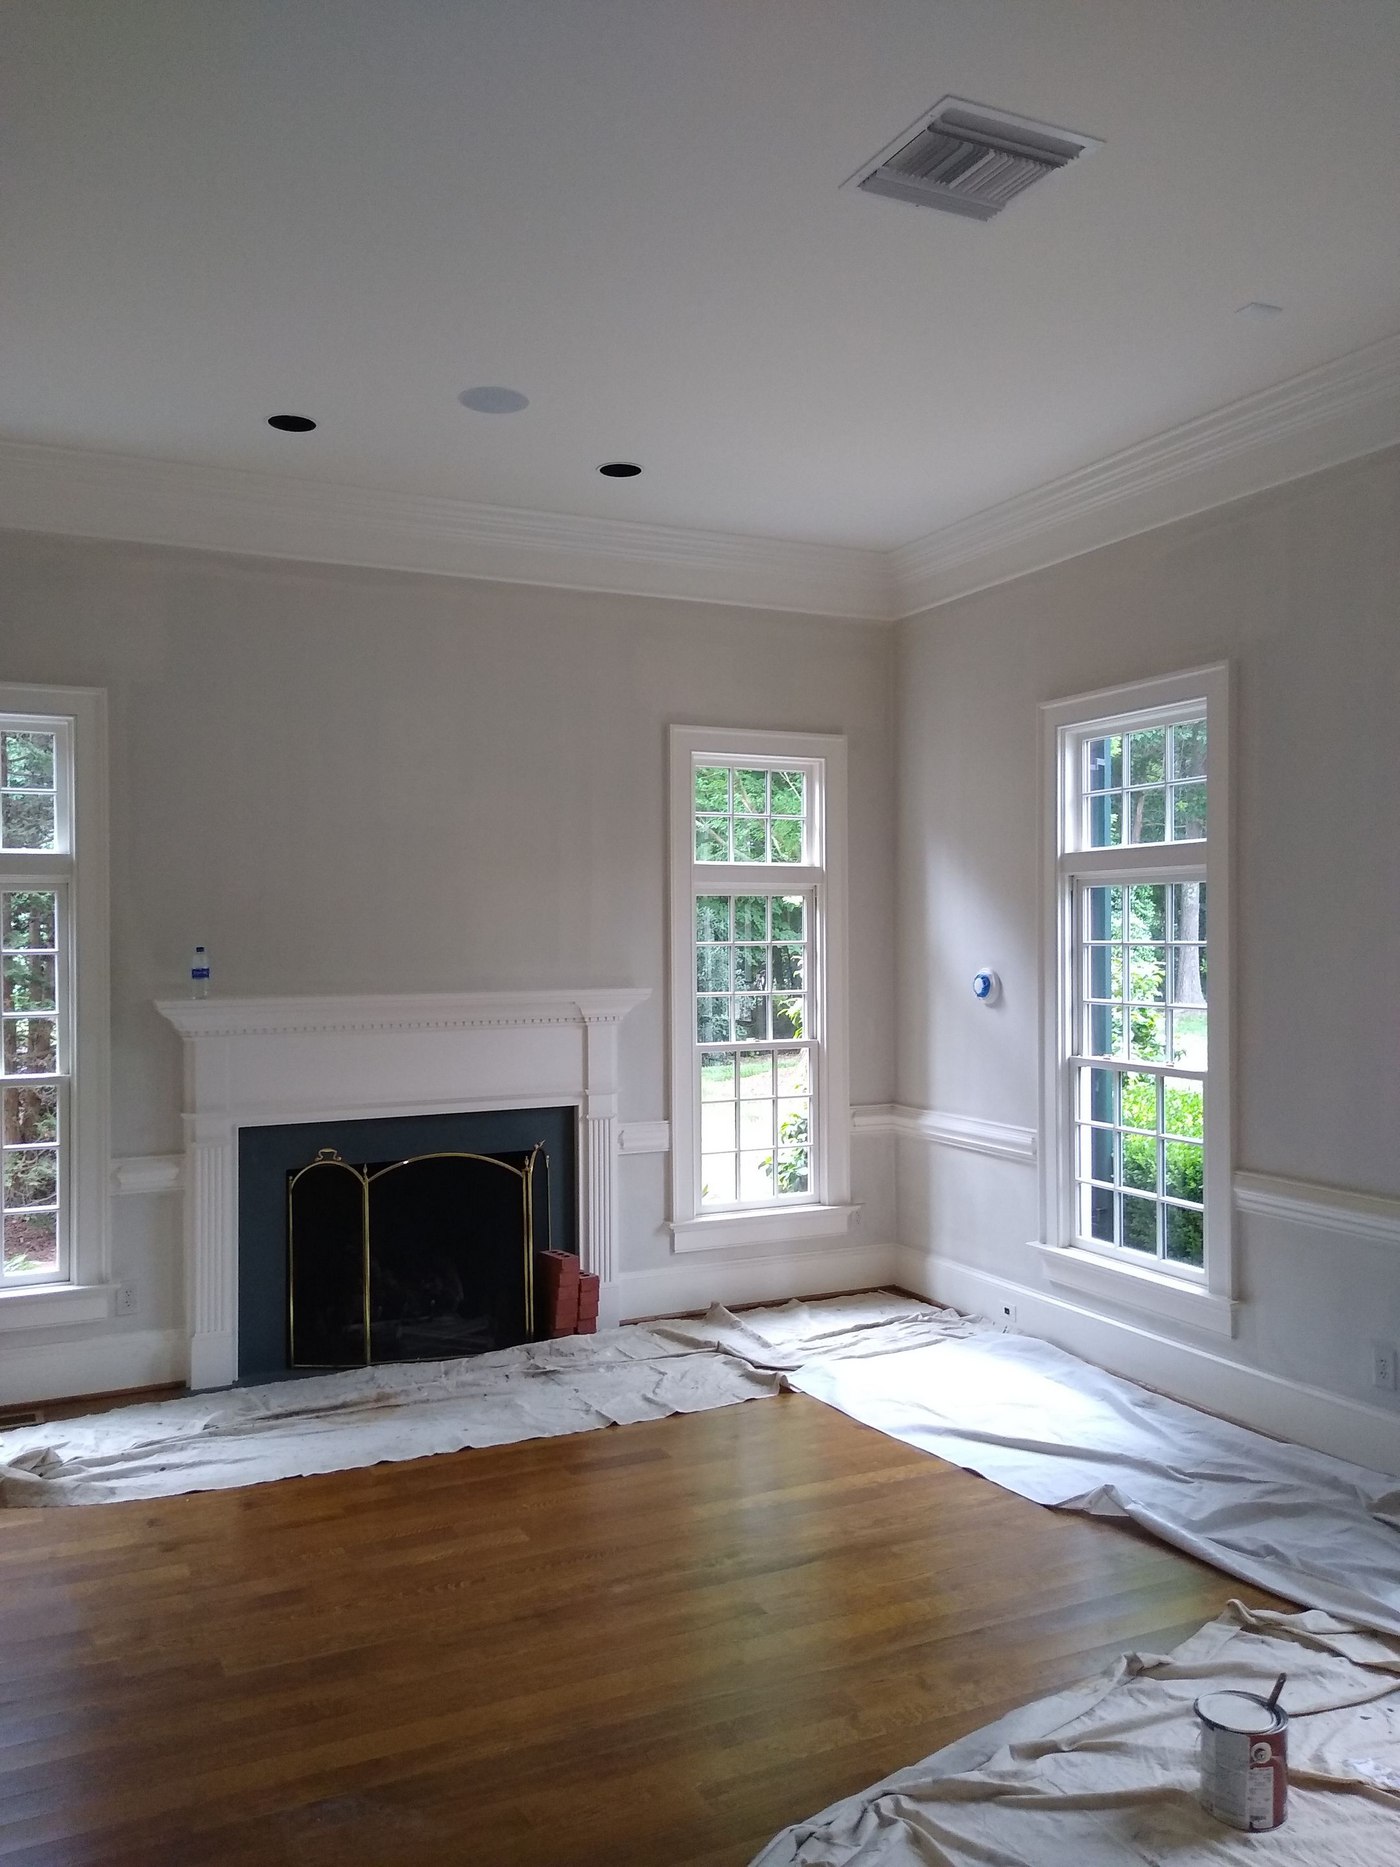
- Take out anything you can move
- Put anything you can’t take out into the center of the room and cover
- Remove the power outlet and light switch covers
- Put down drop cloths or tarps
- Wash walls
- Look for and repair any damages
- Use painter’s tape for areas you don’t want the paint to get on
You can make the process easier by putting the outlet and light switch parts into separate baggies. This way nothing gets lost.
You May Also Like To Read
Following these steps helps pros and DIYers paint more easily. They don’t have to worry about making a mess or cleaning up after one.